One common question most website owners ask when it comes to image optimization, specifically converting images to WebP is 'what quality setting should I use? What the industry would say is 80% for web images, 85 to 90% for detailed images, and lossless for any image you want to edit later, which is accurate, but based on my tests, that first figure can be lowered to 60% but you'll have to read the rest of the article to see why.
Convert images to WebP in your browser — no uploads →
How WebP quality works
WebP's quality setting ranges from 0 to 100, similar to PNG's compression level. However, while PNG's compression level is always lossless, WebP's quality setting above 0 is lossy by default. This means the encoder discards image data it believes you will not be able to see to create the smallest file possible.
The quality–size tradeoff: real numbers
A real-world example of a 26-megapixel Canon EOS RP Photo converted to WebP. The only thing I changed is the quality, with the default compression effort of 4. I did not resize the image or remove the EXIF data. I used the same settings for all conversions to remove other variables.
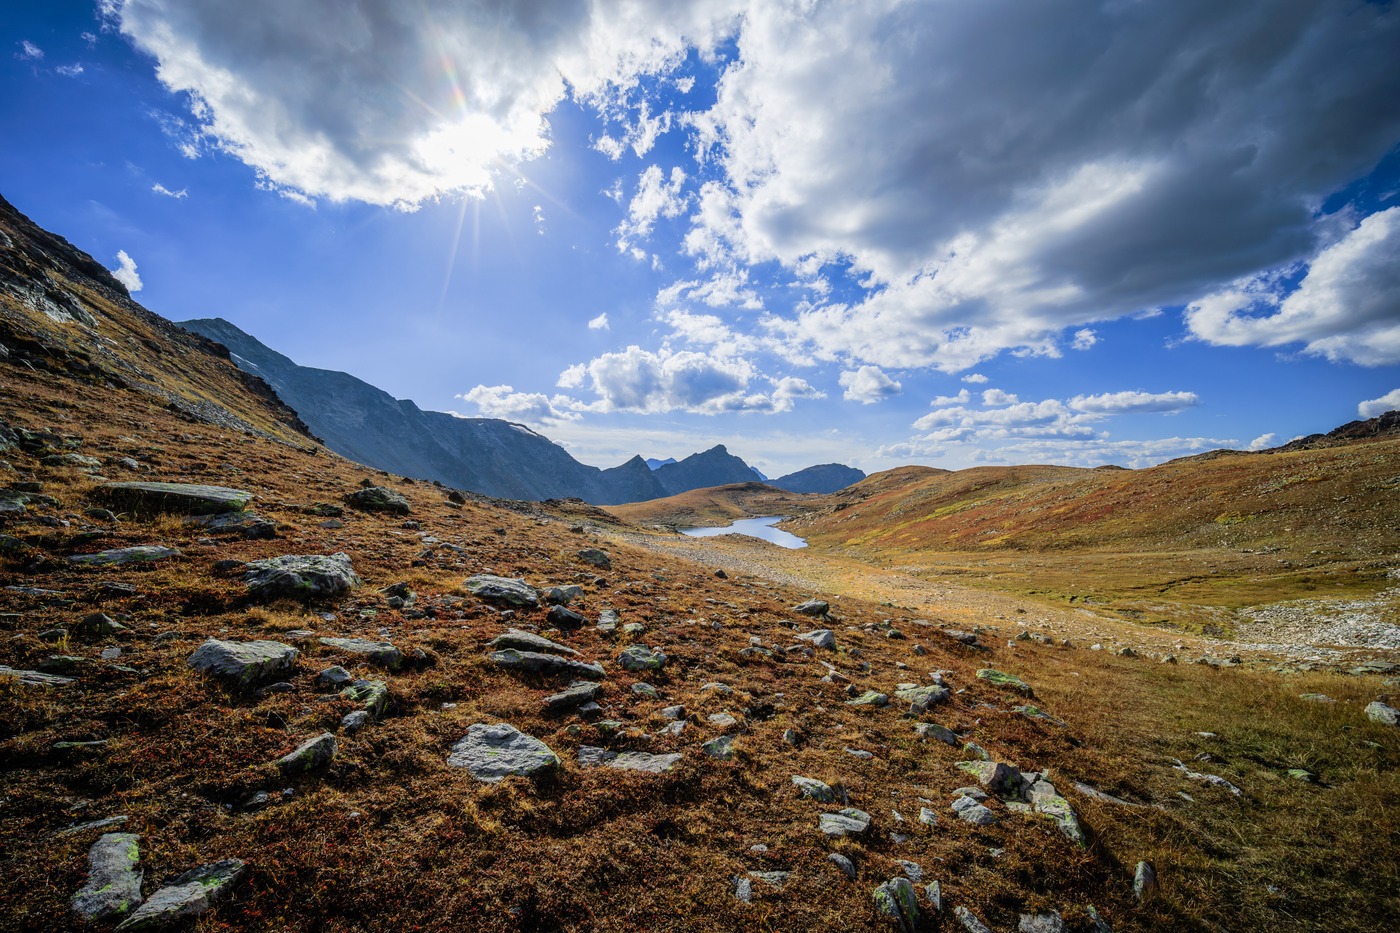 JPG · 9.8 MB (original)
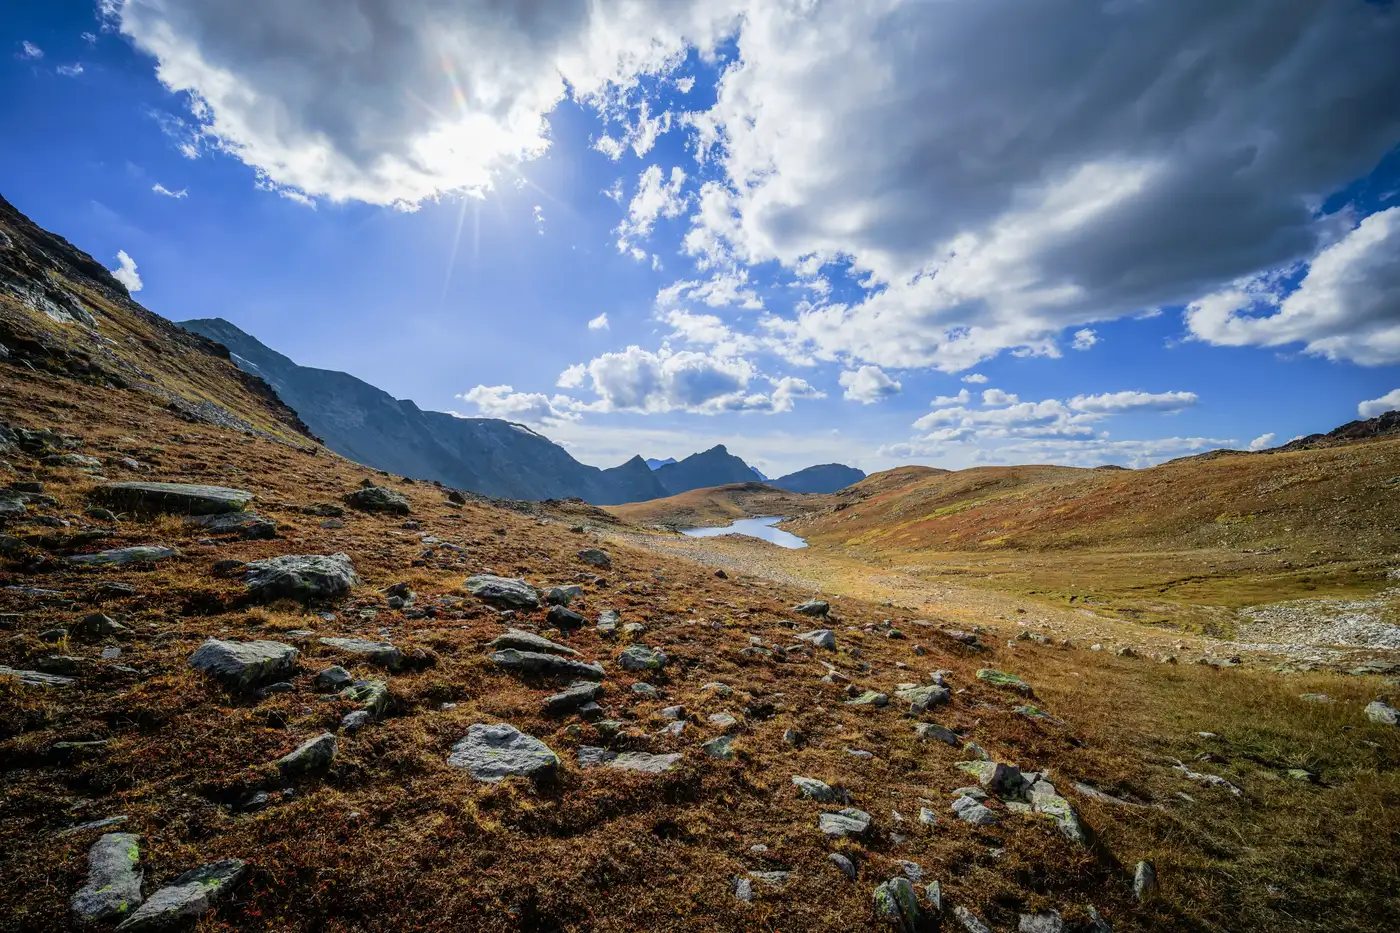 WebP q60 · 2.6 MB (−75%)
Converting this 26 Megapixel stock photo to WebP at 60%. Original size (9.8 MB), size after conversion (2.6 MB) — 75% savings without resizing it.
| Quality | Original File Size | Compressed File Size | Compression |
|---|---|---|---|
| 60 | 9.8 MB | 2.6 MB | 73% |
| 70 | 9.8 MB | 2.9 MB | 70% |
| 75 | 9.8 MB | 3.2 MB | 68% |
| 80 | 9.8 MB | 3.9 MB | 60% |
| 85 | 9.8 MB | 5 MB | 49% |
| 90 | 9.8 MB | 6.9 MB | 30% |
| 95 | 9.8 MB | 9.5 MB | 5% |
Honestly, there isn't much difference with the visual quality of the compressed images, even if I zoom it over 300%. The advice you will see below is industry standard practice, but the results above show that with WebP, you can compress further without sacrificing quality. Note that this is a landscape photo and the degradation will depend on the type of image. But the results above show what's possible with WebP.
When to use quality 80 (the default)
Quality 80 is the right choice for:
- Photographs for web delivery (product images, blog photos, portfolio shots)
- Social media exports where you control the output format
- Automated pipelines where you want a consistent "safe" default
- Batch conversion where you don't want to tune per-image
This is how most image CDNs and image optimization services work: quality 80 is the internal default for WebP, which, according to Google's benchmarks for optimal viewing quality, should be set between 75 and 85.
When to go higher than 80
Use quality 85–90 when:
- The images contain fine text or sharp edges (e.g., screenshots, UI mockups, diagrams). Here WebP's compression is worse than for smooth photo tones. At quality 80, you may already notice some softness in the edges.
- Your images will be displayed at large sizes (e.g., hero images, full-width banners).
- Images will be printed or otherwise professionally handicraft-recreated: opt for lossless, and export to TIFF where appropriate instead.
Use quality 95–100 only if:
- The above comments about using high-quality levels apply only when creating a web delivery source that will be processed (e.g., by content delivery networks); in that case, WebP lossless or even PNG would be more appropriate.
When to go lower than 80
Use quality 70–75 for:
- Small thumbnails (under 200px) where fine detail is not visible
- Background images behind text or UI elements where the image is decorative
- High-volume pipelines where every KB matters (millions of images, CDN cost reduction)
Quality settings below 70 will start to exhibit noticeable artifacts in the output images, such as ringing on edges, banding in smooth gradients, and the blocky structure of the compression. Below 75, the file-size savings from such small reductions are generally not worth the decreased image quality.
Lossless WebP: when to use it
WebP lossless isn't a quality setting; it's a completely different encoding mode. It encodes the image so every pixel is saved 100% exactly as it was in the original image. The following types of images benefit from WebP lossless encoding:
- Screenshots and UI captures
- Logos and icons (if not using SVG)
- Images you'll re-edit / re-tweak before sending off to final compression — each re-compression of a lossy image degrades quality further.
- Source images that will be served at multiple sizes
Lossless WebP files typically save 15%–25% over corresponding PNG files for photographs, but are generally larger than their lossy counterparts. For display images, a quality of 90 (lossy) will generally look identical to the lossless version at half the file size.
Comparing WebP to JPEG: quality numbers don't match
People new to WebP will often compare quality 80 to JPEG quality 80, expecting similar results. Encoders use them differently for different formats.
In practice, WebP quality 80 encodes at roughly the same perceptual quality as JPEG quality 85–90 at a smaller encoded size. This means that if your tool encodes to WebP quality 80 and you compare the encoded files to a reference JPEG encoded at JPEG quality 85, the WebP file will likely be smaller and look the same or even better.
The practical recommendation
Default: quality 80. This setting makes most web images (photos, product images, cartoons, etc.) about 25–35% (actually 60% or more in my tests just with the compression) smaller than equivalent-quality JPEG images.
Fine detail or large display: quality 85–90. This setting is useful for screenshots, diagrams, and hero images that will be viewed at very large sizes and need every last bit of detail.
Editing source: lossless. This will be reprocessed or edited.